Think your display looks fine? That might be true—until you switch to something smoother. Once you see 144Hz in action, going back to 60Hz feels like watching a flipbook drawn in slow motion.
Refresh rate isn’t just a number. It changes how you see motion, how you game, and how your eyes feel after eight hours of spreadsheets. Checking it takes a minute. Fixing it—if needed—is usually just a few clicks.
Here’s how to check your refresh rate. On any system. And what to do if the number staring back isn’t what you paid for.
What Is Refresh Rate, Really?
Let’s keep this short:
- Refresh rate = how many times per second your monitor updates the image on screen.
- It’s measured in Hertz (Hz).
- 60Hz = standard. 144Hz or 240Hz = smoother, better, faster.
More Hz means smoother animation. That matters for gaming. But it also makes everyday tasks feel snappier. Even scrolling a website or dragging windows looks better.
Windows 10 & 11: The Easy Way
Step-by-step:
- Right-click on your desktop and select Display settings.
- Scroll down and click Advanced display.
- Under “Display information,” look for Refresh rate.
- Click the dropdown if you want to change it.
⚠️ Warning: Not all monitors list their full refresh rate by default. If you’re stuck at 60Hz on a 144Hz panel, we’ll get to that.
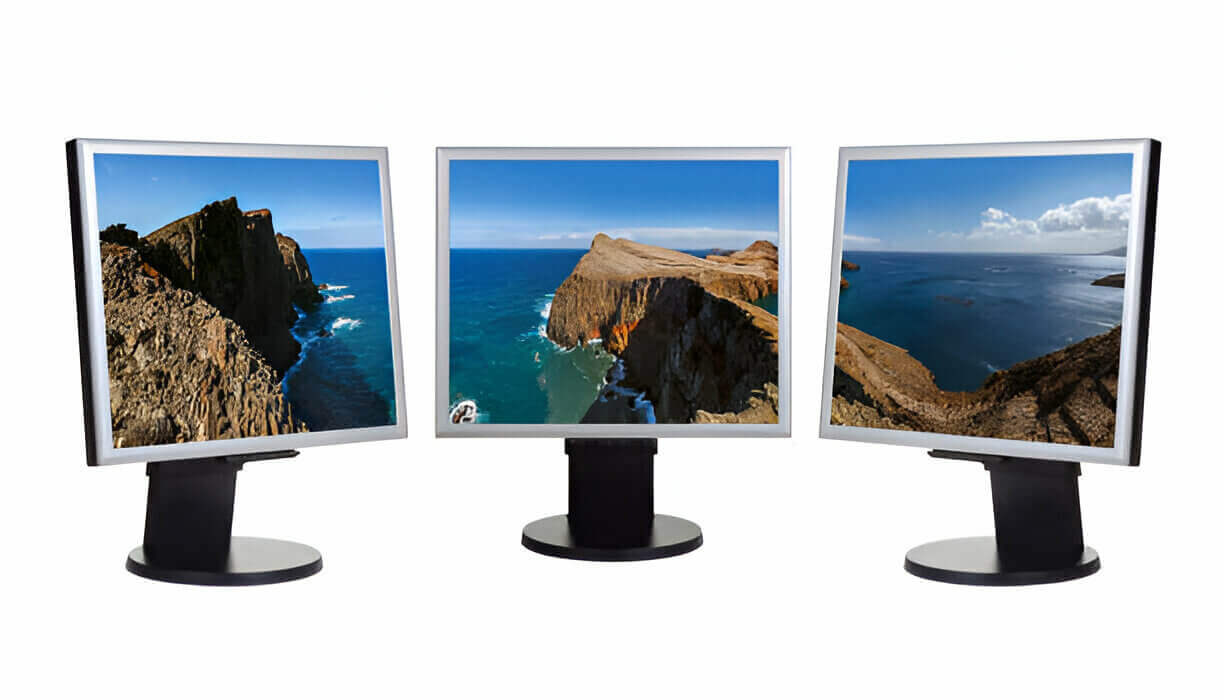
Use this section to check every monitor if you’re running a multi-display setup. Each one could have a different setting.
macOS: The Not-So-Obvious Path
Apple doesn’t exactly put this info front and center.
Modern macOS (Monterey and later):
- Open System Settings → Displays.
- Hold the Option key.
- A dropdown appears: Refresh Rate. Click and adjust.
Older macOS versions:
- Go to System Preferences → Displays.
- Click Scaled, then Option-click again to reveal refresh rates.
Some MacBooks with ProMotion change refresh rate automatically. If you’re on 120Hz, macOS may slow it to 60Hz to save battery.
Linux: Terminal or GUI, Your Choice
On most Ubuntu/GNOME setups:
Graphical Method:
- Go to Settings → Displays.
- Look for the Refresh Rate dropdown.
Terminal Way:
Run the following command:
perlCopyEditxrandr | grep '*'
That shows your current refresh rate. It’ll look something like:
CopyEdit1920x1080 144.00*+
If it shows 60 and you expect more, keep reading. The problem might not be your system—it might be your cable.
Don’t Forget the Monitor’s Own Menu
Most monitors have a built-in OSD (on-screen display). Use the physical buttons to bring it up.
Look for a “Display Info” or “System” tab. It often shows:
- Resolution
- Input source
- Refresh rate
Some gaming monitors can show the refresh rate live onscreen. Handy for spotting issues.
When the Refresh Rate Isn’t What You Paid For
You bought a 144Hz screen. But Windows shows 60Hz. What gives?
Common culprits:
| Problem | Fix |
|---|---|
| Using HDMI 1.4 | Switch to DisplayPort or HDMI 2.0 |
| Old graphics drivers | Update GPU drivers |
| Bad or long cable | Try a shorter, certified one |
| Wrong port on GPU or monitor | Use main display outputs |
| Windows display scaling bug | Replug the cable or restart |
DisplayPort usually gives the best results. HDMI works fine too—but only HDMI 2.0 and up can push high refresh at 1080p or 1440p.
Also, check the specs. Some laptops with hybrid GPUs (Intel + Nvidia) default to the low-powered one, limiting output.Use Tools to Double-Check
Want to see your refresh rate in real time?
Try these:
- TestUFO (Browser) – animation-based check for motion clarity
- HWiNFO64 (Windows) – shows monitor model, refresh, timing
- CRU (Custom Resolution Utility) – advanced users only
- Monitor Asset Manager – reads monitor EDID (gives supported Hz range)
These confirm what Windows might not. If a 165Hz monitor caps at 60Hz, one of these tools usually spills the beans.
Why You Should Care
It’s not just for gamers. Here’s what a higher refresh rate gives you:
- Smoother scrolling
- Reduced tearing and ghosting
- Less eye fatigue
- Better cursor tracking
- Cleaner animations in apps and web browsers
Even a jump from 60Hz to 75Hz feels noticeable. Going to 120Hz or 144Hz is a whole new world.
Monitor Buying? Match Specs With Use
Before you buy your next screen, think about what you’re doing with it. And what your GPU can handle.
| Use Case | Suggested Refresh Rate | Notes |
|---|---|---|
| Office work | 60–75Hz | Good enough for spreadsheets |
| Casual gaming | 120–144Hz | Big upgrade from 60Hz |
| Esports / Twitch | 240–360Hz | Overkill for some, dream for pros |
| Video editing | 75–120Hz | Good for timeline scrubbing |
| Browsing / YouTube | 75Hz+ | Reduces motion blur, eyestrain |
Don’t just grab the highest number on the box. If your graphics card can’t push 144Hz at your resolution, you’ll be wasting pixels.
Troubleshooting Checklist
Before you return that new monitor:
- ✅ Are you using the right cable (DisplayPort or HDMI 2.0+)?
- ✅ Have you updated your GPU drivers?
- ✅ Is the correct monitor input selected (some have multiple)?
- ✅ Did you check the refresh rate in Windows or macOS settings?
- ✅ Did you check your monitor’s OSD?
- ✅ Did you try unplugging and reconnecting the cable?
Still stuck? Try a different system or another GPU port. If it works there, your original port might not support high refresh.
Final Thought
Don’t trust the box. Don’t trust what your eyes think they see, either. A 144Hz screen running at 60Hz won’t look obviously broken—but you’ll feel it over time.
Take two minutes. Open your settings. Check your refresh rate. Adjust if needed. Your games, videos, and even Google Docs will thank you.
And if you find out you’ve been staring at a 60Hz screen for years while thinking it was 120Hz? Welcome to the club. It happens.

